Dev workflow
Let's walk through everything that needs to happen from creating a new project to launching your app in production.
This doc assumes you are building an app with Convex and React and you already have a basic React app already up and running. You can follow one of our quickstarts to set this up.
Installing and running Convex
You install Convex adding the npm dependency to your app:
npm i convex
Then you create your Convex project and start the backend dev loop:
npx convex dev
The first time you run the npx convex dev command you'll be asked whether you
want start developing locally without an account or create an account.
Developing without an account
npx convex dev will prompt you for the name of your project, and then start
running the open-source Convex backend locally on your machine (this is also
called a "deployment").
The data for your project will be saved in the ~/.convex directory.
- The name of your project will get saved to your
.env.localfile so future runs ofnpx convex devwill know to use this project. - A
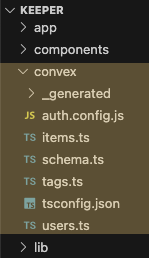
convex/folder will be created (if it doesn't exist), where you'll write your Convex backend functions.
You can run npx convex login in the future to create an account and link any
existing projects.
Developing with an account
npx convex dev will prompt you through creating an account if one doesn't
exist, and will add your credentials to ~/.convex/config.json on your machine.
You can run npx convex logout to log you machine out of the account in the
future.
Next, npx convex dev will create a new project and provision a new personal
development deployment for this project:
- Deployment details will automatically be added to your
.env.localfile so future runs ofnpx convex devwill know which dev deployment to connect to. - A
convex/folder will be created (if it doesn't exist), where you'll write your Convex backend functions.
Running the dev loop
Keep the npx convex dev command running while you're working on your Convex
app. This continuously pushes backend code you write in the convex/ folder to
your deployment. It also keeps the necessary TypeScript types up-to-date as you
write your backend code.
When you're developing with a locally running deployment, npx convex dev is
also responsible for running your deployment.
You can then add new server functions to your Convex backend:
import { query } from "./_generated/server";
import { v } from "convex/values";

// Return the last 100 tasks in a given task list.
export const getTaskList = query({
  args: { taskListId: v.id("taskLists") },
  handler: async (ctx, args) => {
    const tasks = await ctx.db
      .query("tasks")
      .withIndex("taskListId", (q) => q.eq("taskListId", args.taskListId))
      .order("desc")
      .take(100);
    return tasks;
  },
});
When you write and save this code in your editor, several things happen:
- The
npx convex devcommand typechecks your code and updates theconvex/_generateddirectory. - The contents of your
convex/directory get uploaded to your dev deployment. - Your Convex dev deployment analyzes your code and finds all Convex functions.
In this example, it determines that
tasks.getTaskListis a new public query function. - If there are any changes to the schema, the deployment will automatically enforce them.
- The
npx convex devcommand updates generated TypeScript code in theconvex/_generateddirectory to provide end to end type safety for your functions.
Check in everything in your convex/_generated/ directory. This it ensures
that your code immediately type checks and runs without having to first run
npx convex dev. It's particularly useful when non-backend developers are
writing frontend code and want to ensure their code type checks against
currently deployed backend code.
Once this is done you can use your new server function in your frontend:
import { useQuery } from "convex/react";
import { api } from "../convex/_generated/api";

export function App() {
  const data = useQuery(api.tasks.getTaskList);
  return data ?? "Loading...";
}
If you have other configuration like crons or
auth in your convex/ folder, Convex ensures that they
are applied and enforced on your backend.
Convex dashboard
The Convex dashboard will be a trusty helper throughout your dev, debug and deploy workflow in Convex.
npx convex dashboard will open a link to the dashboard for your deployment.
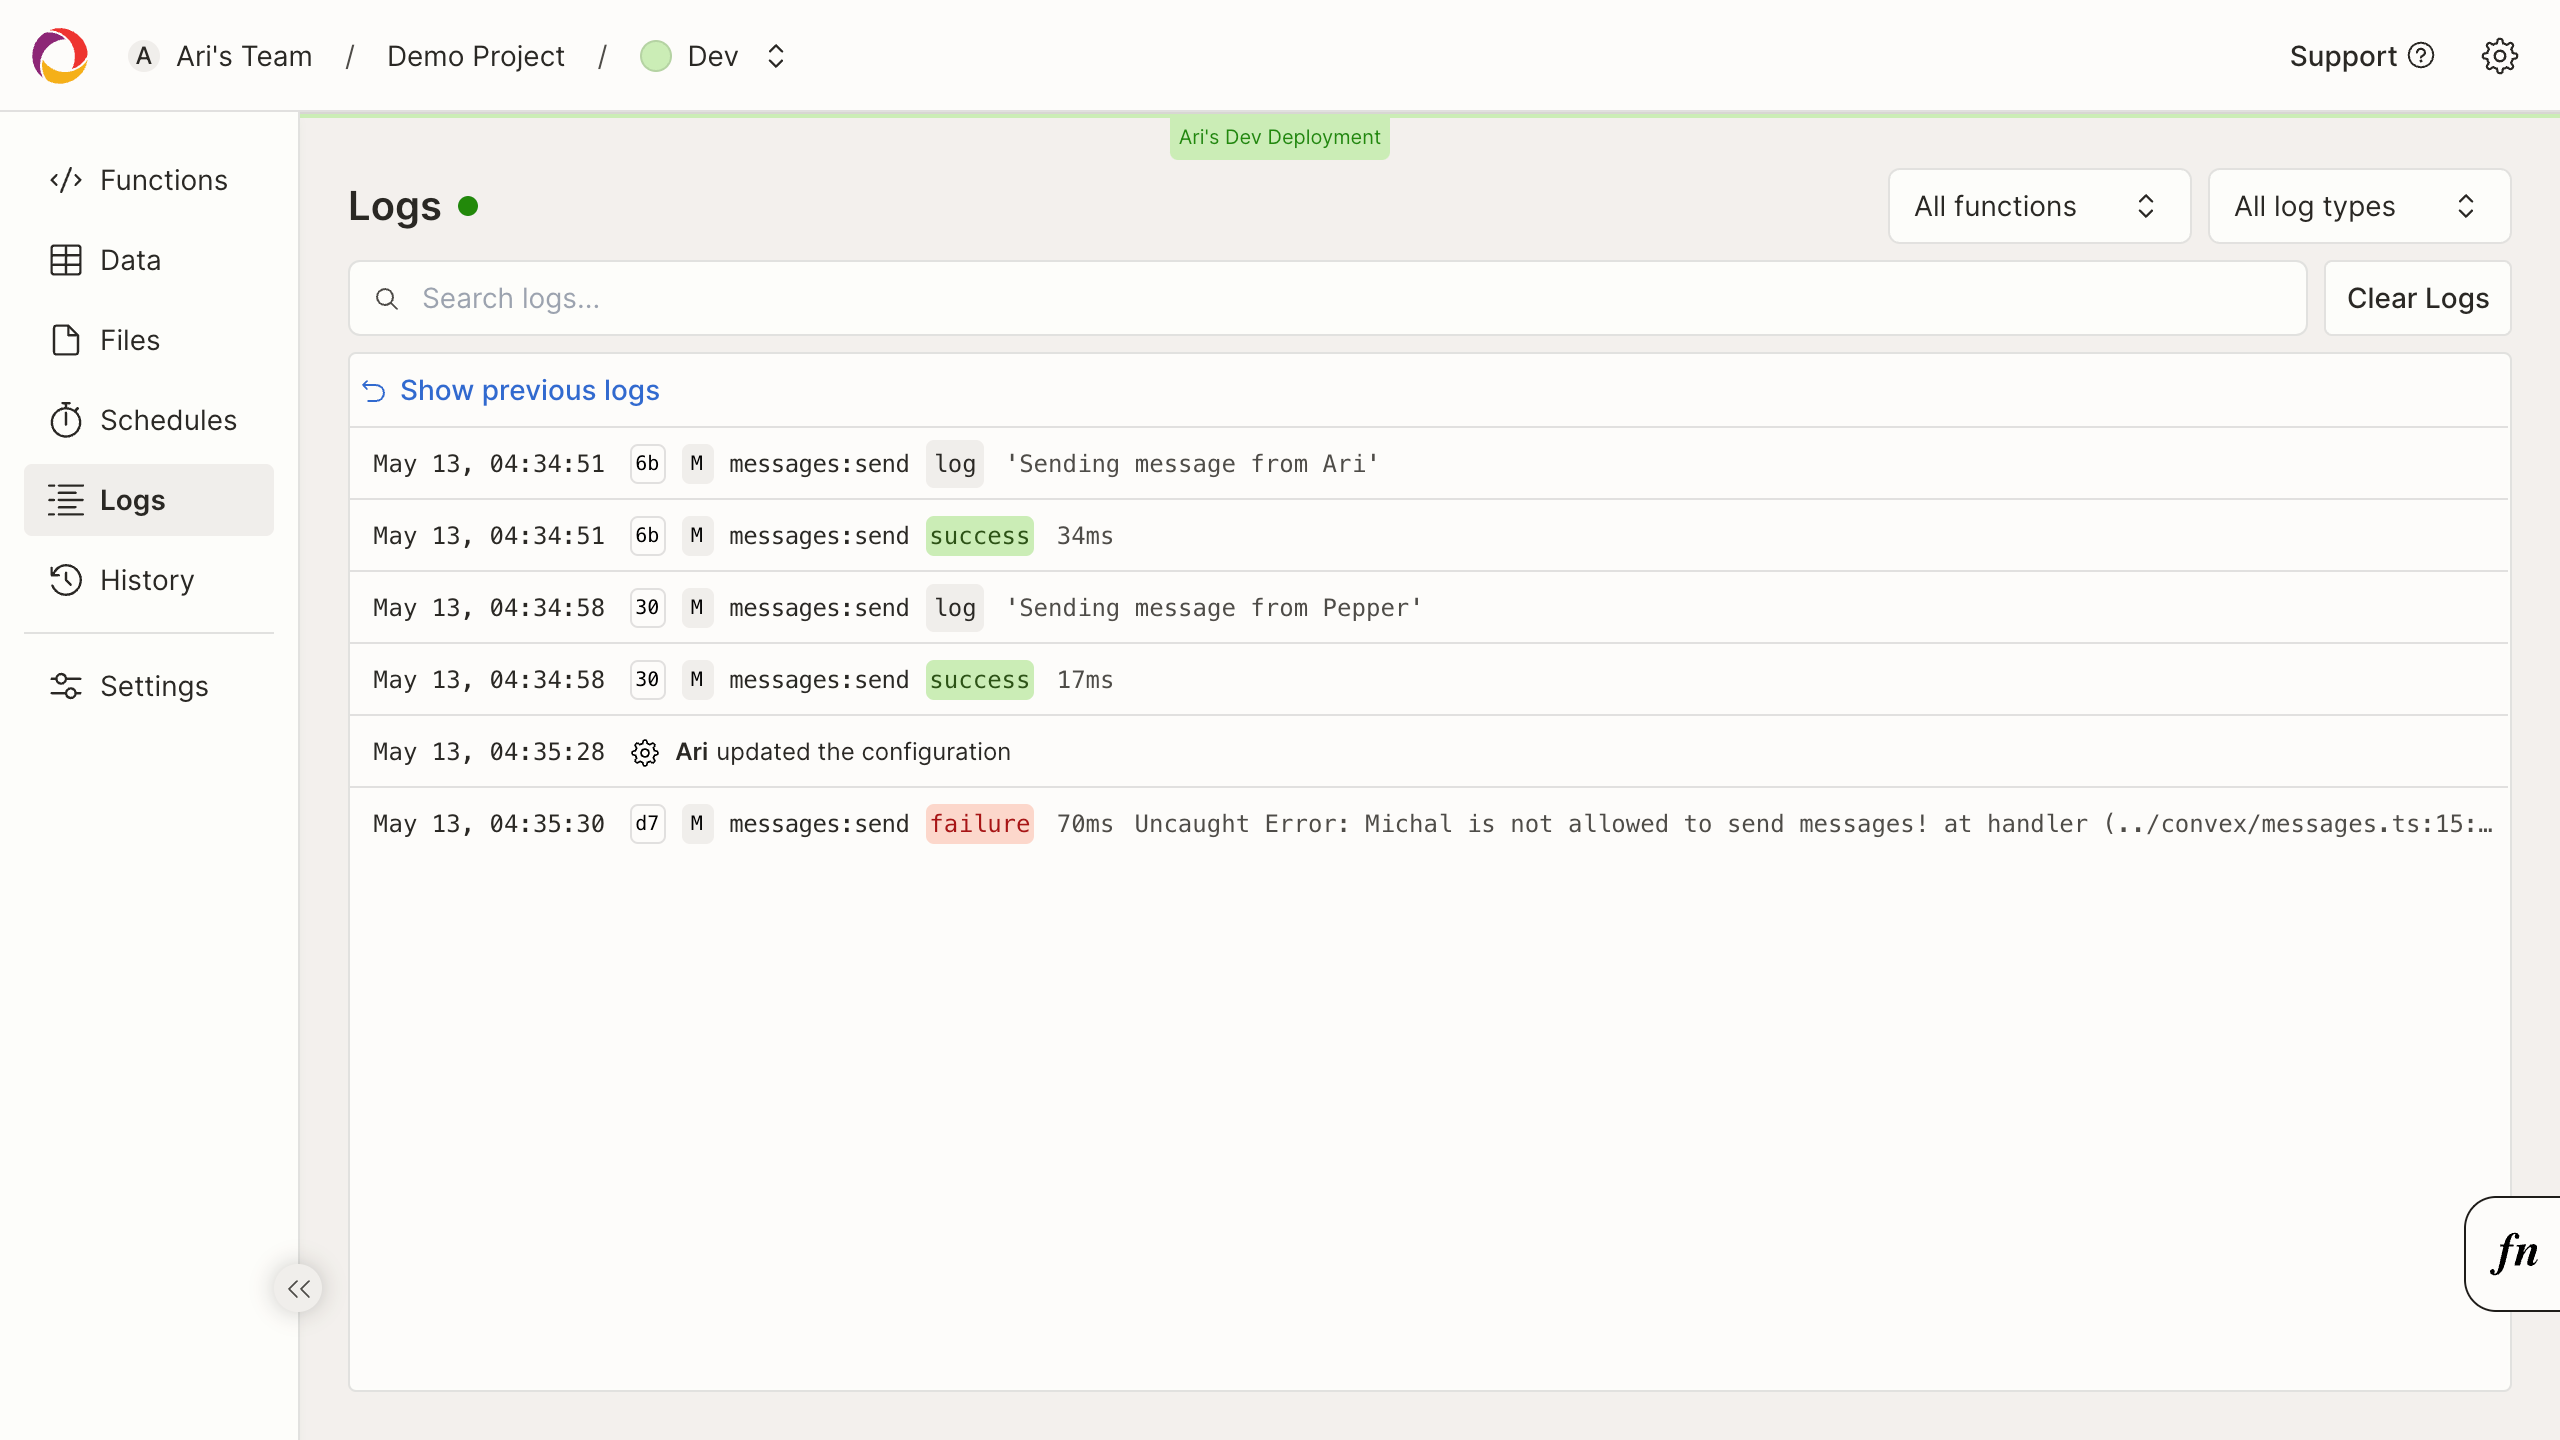
Logs
Since Convex functions are TypeScript functions you can always use the standard
console.log and console.time functions to debug your apps.
Logs from your functions show up in your dashboard.
Health, Data, Functions and more
- Health - provides invaluable information on how your app is performing in production, with deep insights on how your Convex queries are doing.
- Data - gives you a complete data browser to spot check your data.
- Functions - gives you stats and run functions to debug them.
There is a lot more to to the dashboard. Be sure to click around or check out the docs.
Deploying your app
So far you've been working on your app against your personal dev deployment.
All Convex projects have one production deployment running in the cloud. It has separate data and has a separate push process from personal dev deployments, which allows you and your teammates to work on new features using personal dev deployments without disrupting your app running in production.
If you have not created a Convex account yet, you will need to do so with
npx convex login. This will automatically link any projects you've started
with your new account, and enable using your production deployment.
To push your code to your production deployment for your project you run the deploy command:
npx convex deploy
If you're running this command for the first time, it will automatically provision the prod deployment for your project.
Setting up your deployment pipeline
It's rare to run npx convex deploy directly. Most production applications run
an automated workflow that runs tests and deploys your backend and frontend
together.
You can see detailed deployment and frontend configuration instructions in the Hosting and Deployment doc. For most React meta-frameworks Convex automatically sets the correct environment variable to connect to the production deployment.
Up next
You now know the basics of how Convex works and fits in your app. Go head and explore the docs further to learn more about the specific features you want to use.
Whenever you're ready be sure the read the Best Practices, and then the Zen of Convex once you are ready to "think in Convex."