Using GitHub Copilot with Convex
GitHub Copilot, the AI built into VS Code, makes it easy to write and maintain apps built with Convex. Let's walk through how to setup GitHub Copilot for the best possible results with Convex.
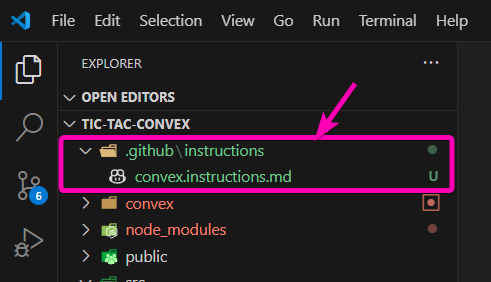
Add Convex Instructions
Add the following
instructions
file to your .github/instructions directory in your project and it will
automatically be included when working with TypeScript or JavaScript files:
If you would rather that the instructions file is NOT automatically pulled into
context then open the file in your editor and alter the applyTo field at the
top. Read more about instructions files here:
https://code.visualstudio.com/docs/copilot/copilot-customization#_use-instructionsmd-files
We're constantly working on improving the quality of these rules for Convex by using rigorous evals. You can help by contributing to our evals repo.
Setup the Convex MCP Server
The Convex CLI comes with a Convex Model Context Protocol (MCP) server built in. The Convex MCP server gives your AI coding agent access to the your Convex deployment to query and optimize your project.
To get started with
MCP in VS Code
then create a file in .vscode/mcp.json and add the following:
{
  "servers": {
    "convex-mcp": {
      "type": "stdio",
      "command": "npx",
      "args": ["-y", "convex@latest", "mcp", "start"]
    }
  }
}
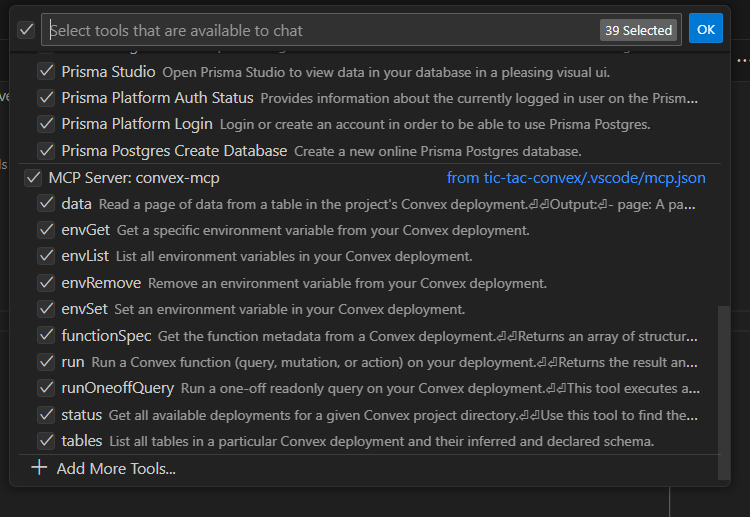
Once this is done it will take a few seconds to start up the MCP server and then you should see the Convex tool listed in the codelens:

and in the selection of tools that the model has access to in chat:
Now start asking it questions like:
- Evaluate and convex schema and suggest improvements
- What are this app's public endpoints?
- Run the
my_convex_functionquery
If you want to use the MCP server globally for all your projects then you can add it to your user settings, please see these docs for more information: https://code.visualstudio.com/docs/copilot/chat/mcp-servers#_add-an-mcp-server-to-your-user-settings