iOS Swift Quickstart
Learn how to query data from Convex in an application targeting iOS and MacOS devices built with Swift and SwiftUI.
This quickstart assumes that you have a Mac with Xcode, node and npm installed. If you don’t have those tools, take time to install them first.
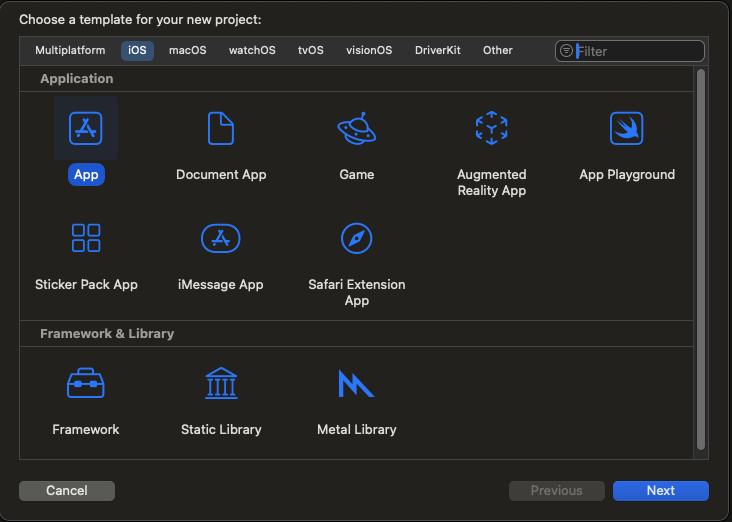
- Create a new iOS app in Xcode
- Click Create New Project
- Select iOS App and click Next
- Name your project something like “ConvexQuickstart”
- Ensure Language is set to Swift and User Interface is SwiftUI
- Click Next
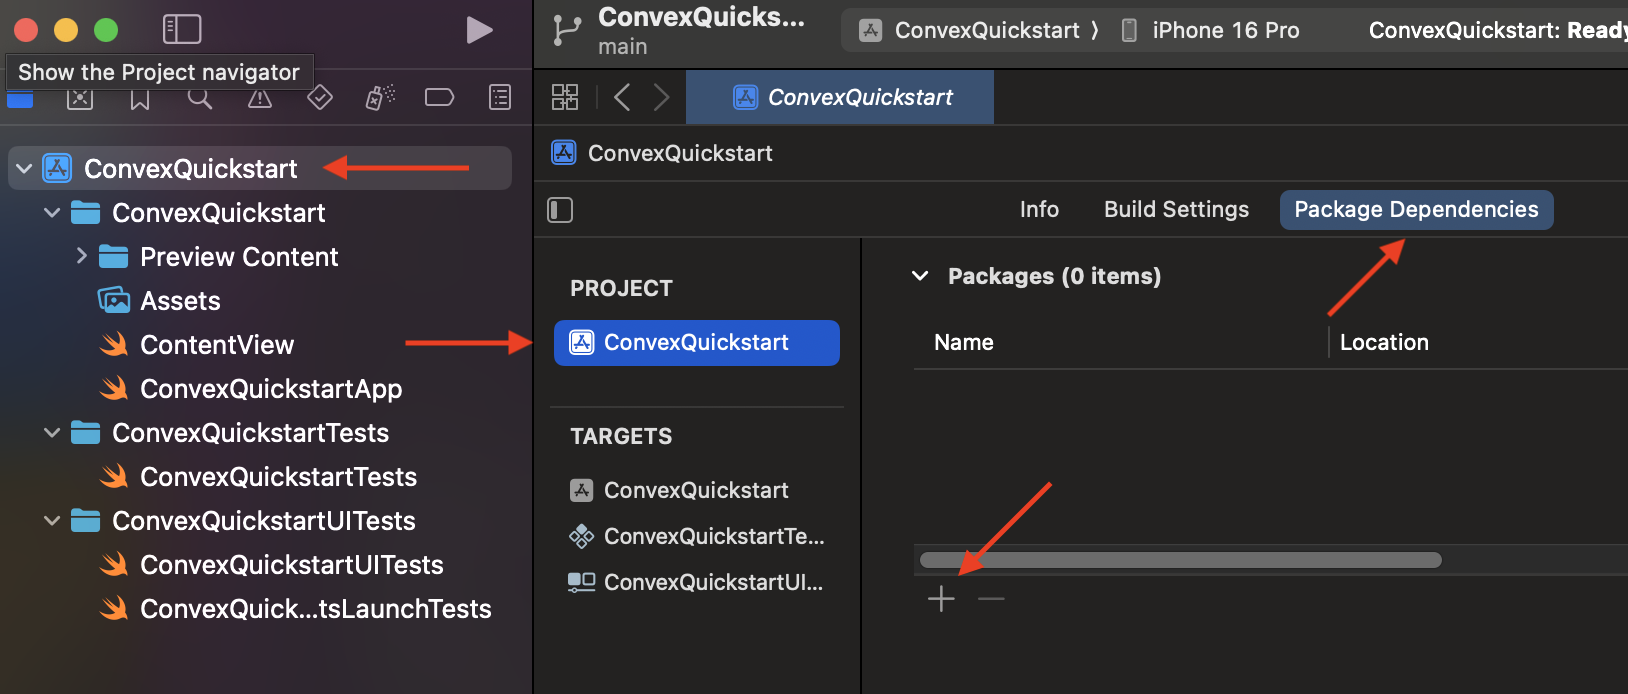
- Configure dependencies
- Click on the top-level ConvexQuickstart app container in the project navigator on the left
- Click on ConvexQuickstart under the PROJECT heading
- Click the Package Dependencies tab
- Click the + button (See Screenshot)
- Paste
into the search box and press enterhttps://github.com/get-convex/convex-swift
- When the
convex-swiftpackage loads, click the Add Package button - In the Package Products dialog, select ConvexQuickstart in the Add to Target dropdown
- Click the Add Package button
- Install the Convex backend
Open a terminal and
cdto the directory for the Xcode project you created. Run the following commands to install the Convex client and server library.npm init -ynpm install convex - Start Convex
Start a Convex dev deployment. Follow the command line instructions to create a new project.
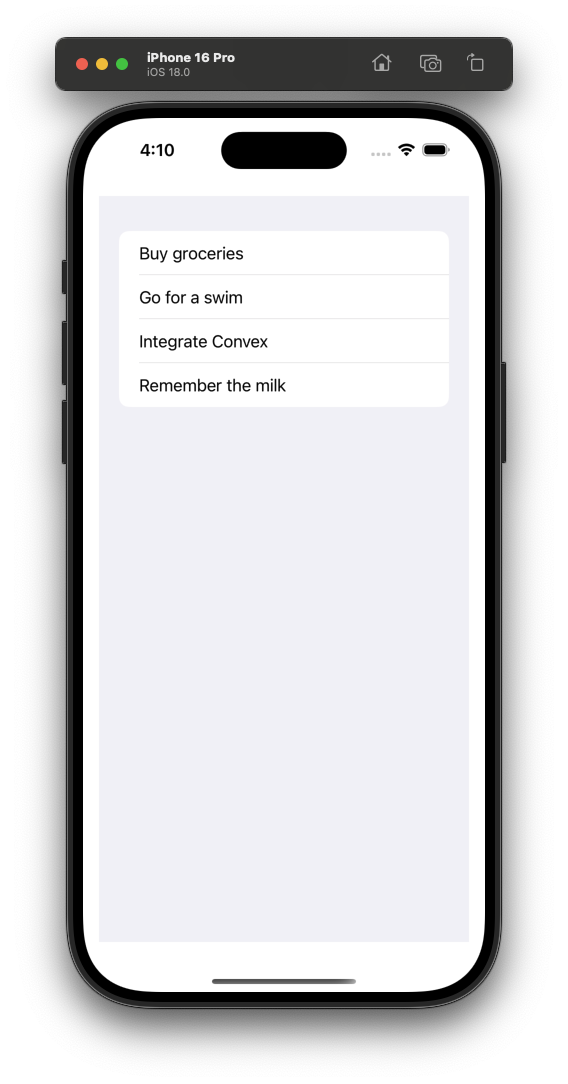
npx convex dev - Create sample data for your database
Create a new
sampleData.jsonlfile in your Swift project directory with these contents{"text": "Buy groceries", "isCompleted": true}{"text": "Go for a swim", "isCompleted": true}{"text": "Integrate Convex", "isCompleted": false} - Add the sample data to a table called `tasks` in your database
Open another terminal tab by pressing ⌘+T which should open in your Swift project directory and run
npx convex import --table tasks sampleData.jsonl - Expose a database query
Create a
tasks.tsfile in theconvex/directory within your Swift project with the following contentsimport { query } from "./_generated/server";export const get = query({args: {},handler: async (ctx) => {return await ctx.db.query("tasks").collect();},}); - Create a Swift struct
Back in Xcode, create a
structat the bottom of theContentViewfile to match the sample data// We're using the name Todo instead of Task to avoid clashing with// Swift's builtin Task type.struct Todo: Decodable {let _id: Stringlet text: Stringlet isCompleted: Bool} - Connect the app to your backend
- Get the deployment URL of your dev server
with
cat .env.local | grep CONVEX_URL - Create a
ConvexClientinstance near the top of the file, just above theContentViewstruct
import SwiftUIimport ConvexMobilelet convex = ConvexClient(deploymentUrl: "YOUR_CONVEX_URL")struct ContentView: View {... - Get the deployment URL of your dev server
with
- Create your UI
Replace the default
ContentViewwith the following code that will refresh the list of todo items whenever the backend data changes.struct ContentView: View {@State private var todos: [Todo] = []var body: some View {List {ForEach(todos, id: \._id) { todo inText(todo.text)}}.task {for await todos: [Todo] in convex.subscribe(to: "tasks:get").replaceError(with: []).values{self.todos = todos}}.padding()}} - Run the app
- Press ⌘+R or click Product → Run
- You can also try adding, updating or
deleting documents in your
taskstable atdashboard.convex.dev- the app will update with the changes in real-time.
See the complete iOS Swift documentation.