Convex Clerk
Clerk is an authentication platform providing login via passwords, social identity providers, one-time email or SMS access codes, and multi-factor authentication and basic user management.
Example: Convex Authentication with Clerk
If you're using Next.js see the Next.js setup guide.
Get started
This guide assumes you already have a working React app with Convex. If not follow the Convex React Quickstart first. Then:
- Sign up for Clerk
Sign up for a free Clerk account at clerk.com/sign-up.
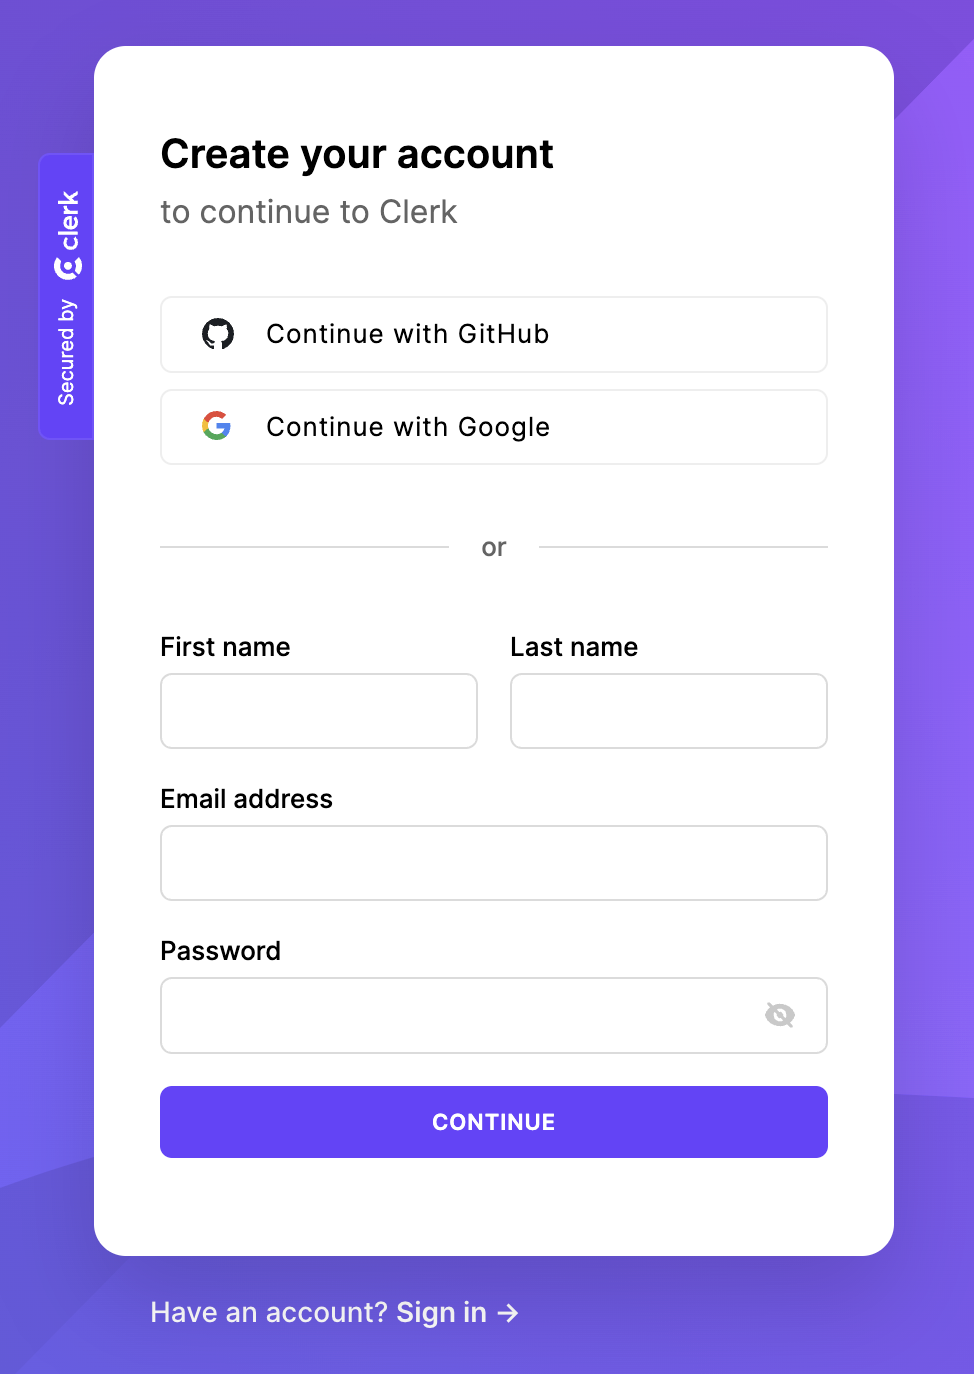
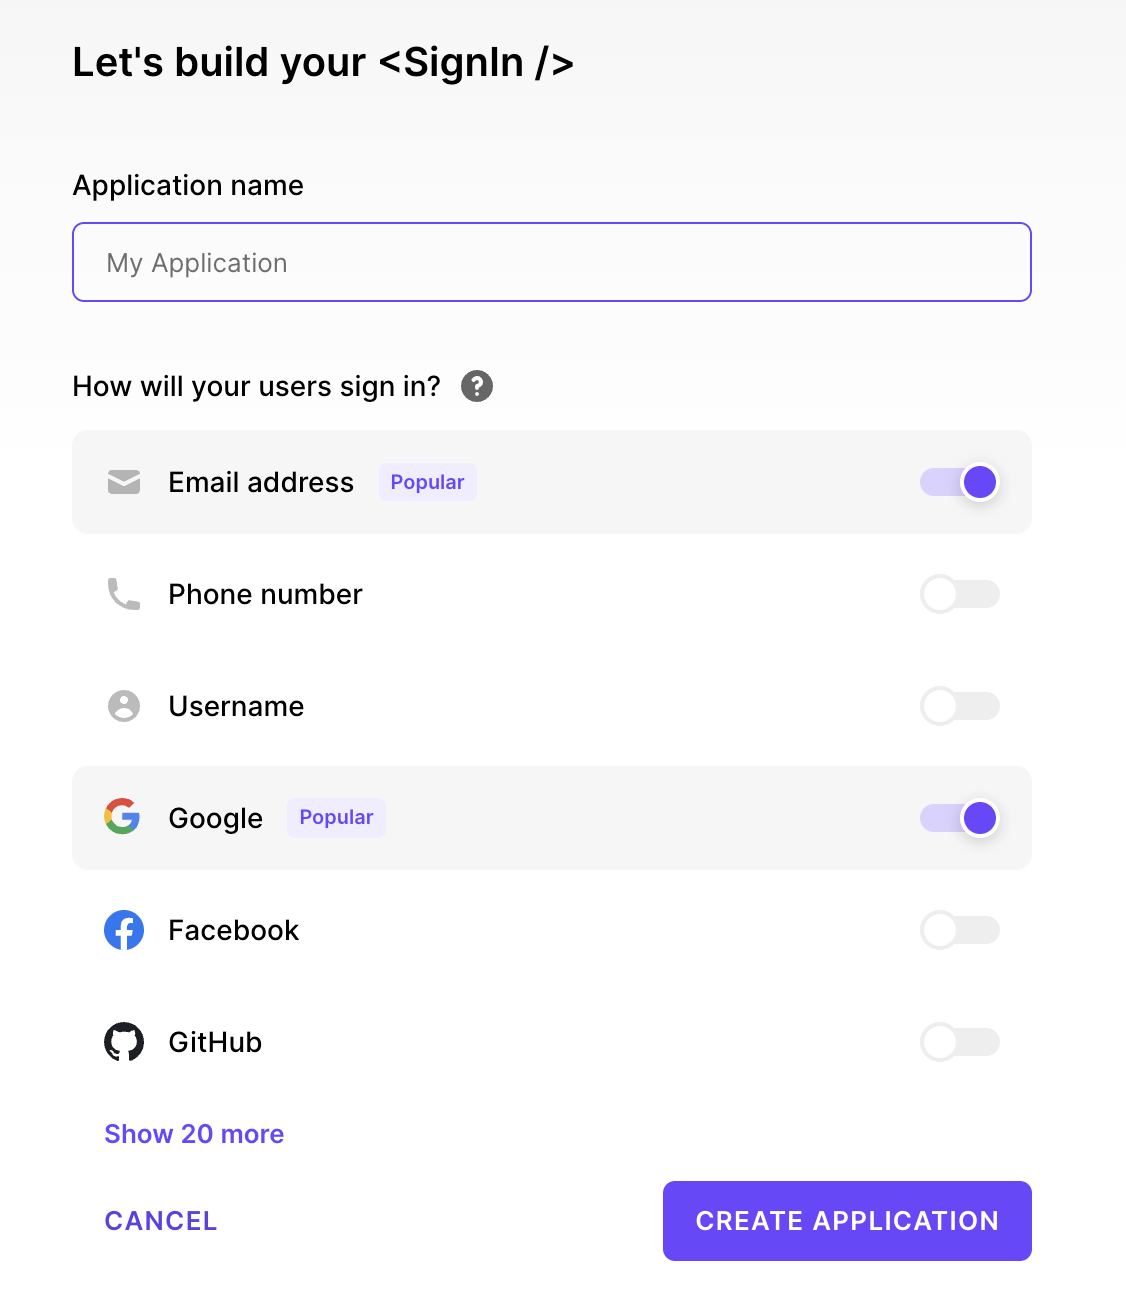
- Create an application in Clerk
Choose how you want your users to sign in.
- Create a JWT Template
In the JWT Templates section of the Clerk dashboard tap on + New template and choose Convex
Copy the Issuer URL from the Issuer input field.
Hit Apply Changes.
Note: Do NOT rename the JWT token, it must be called
convex.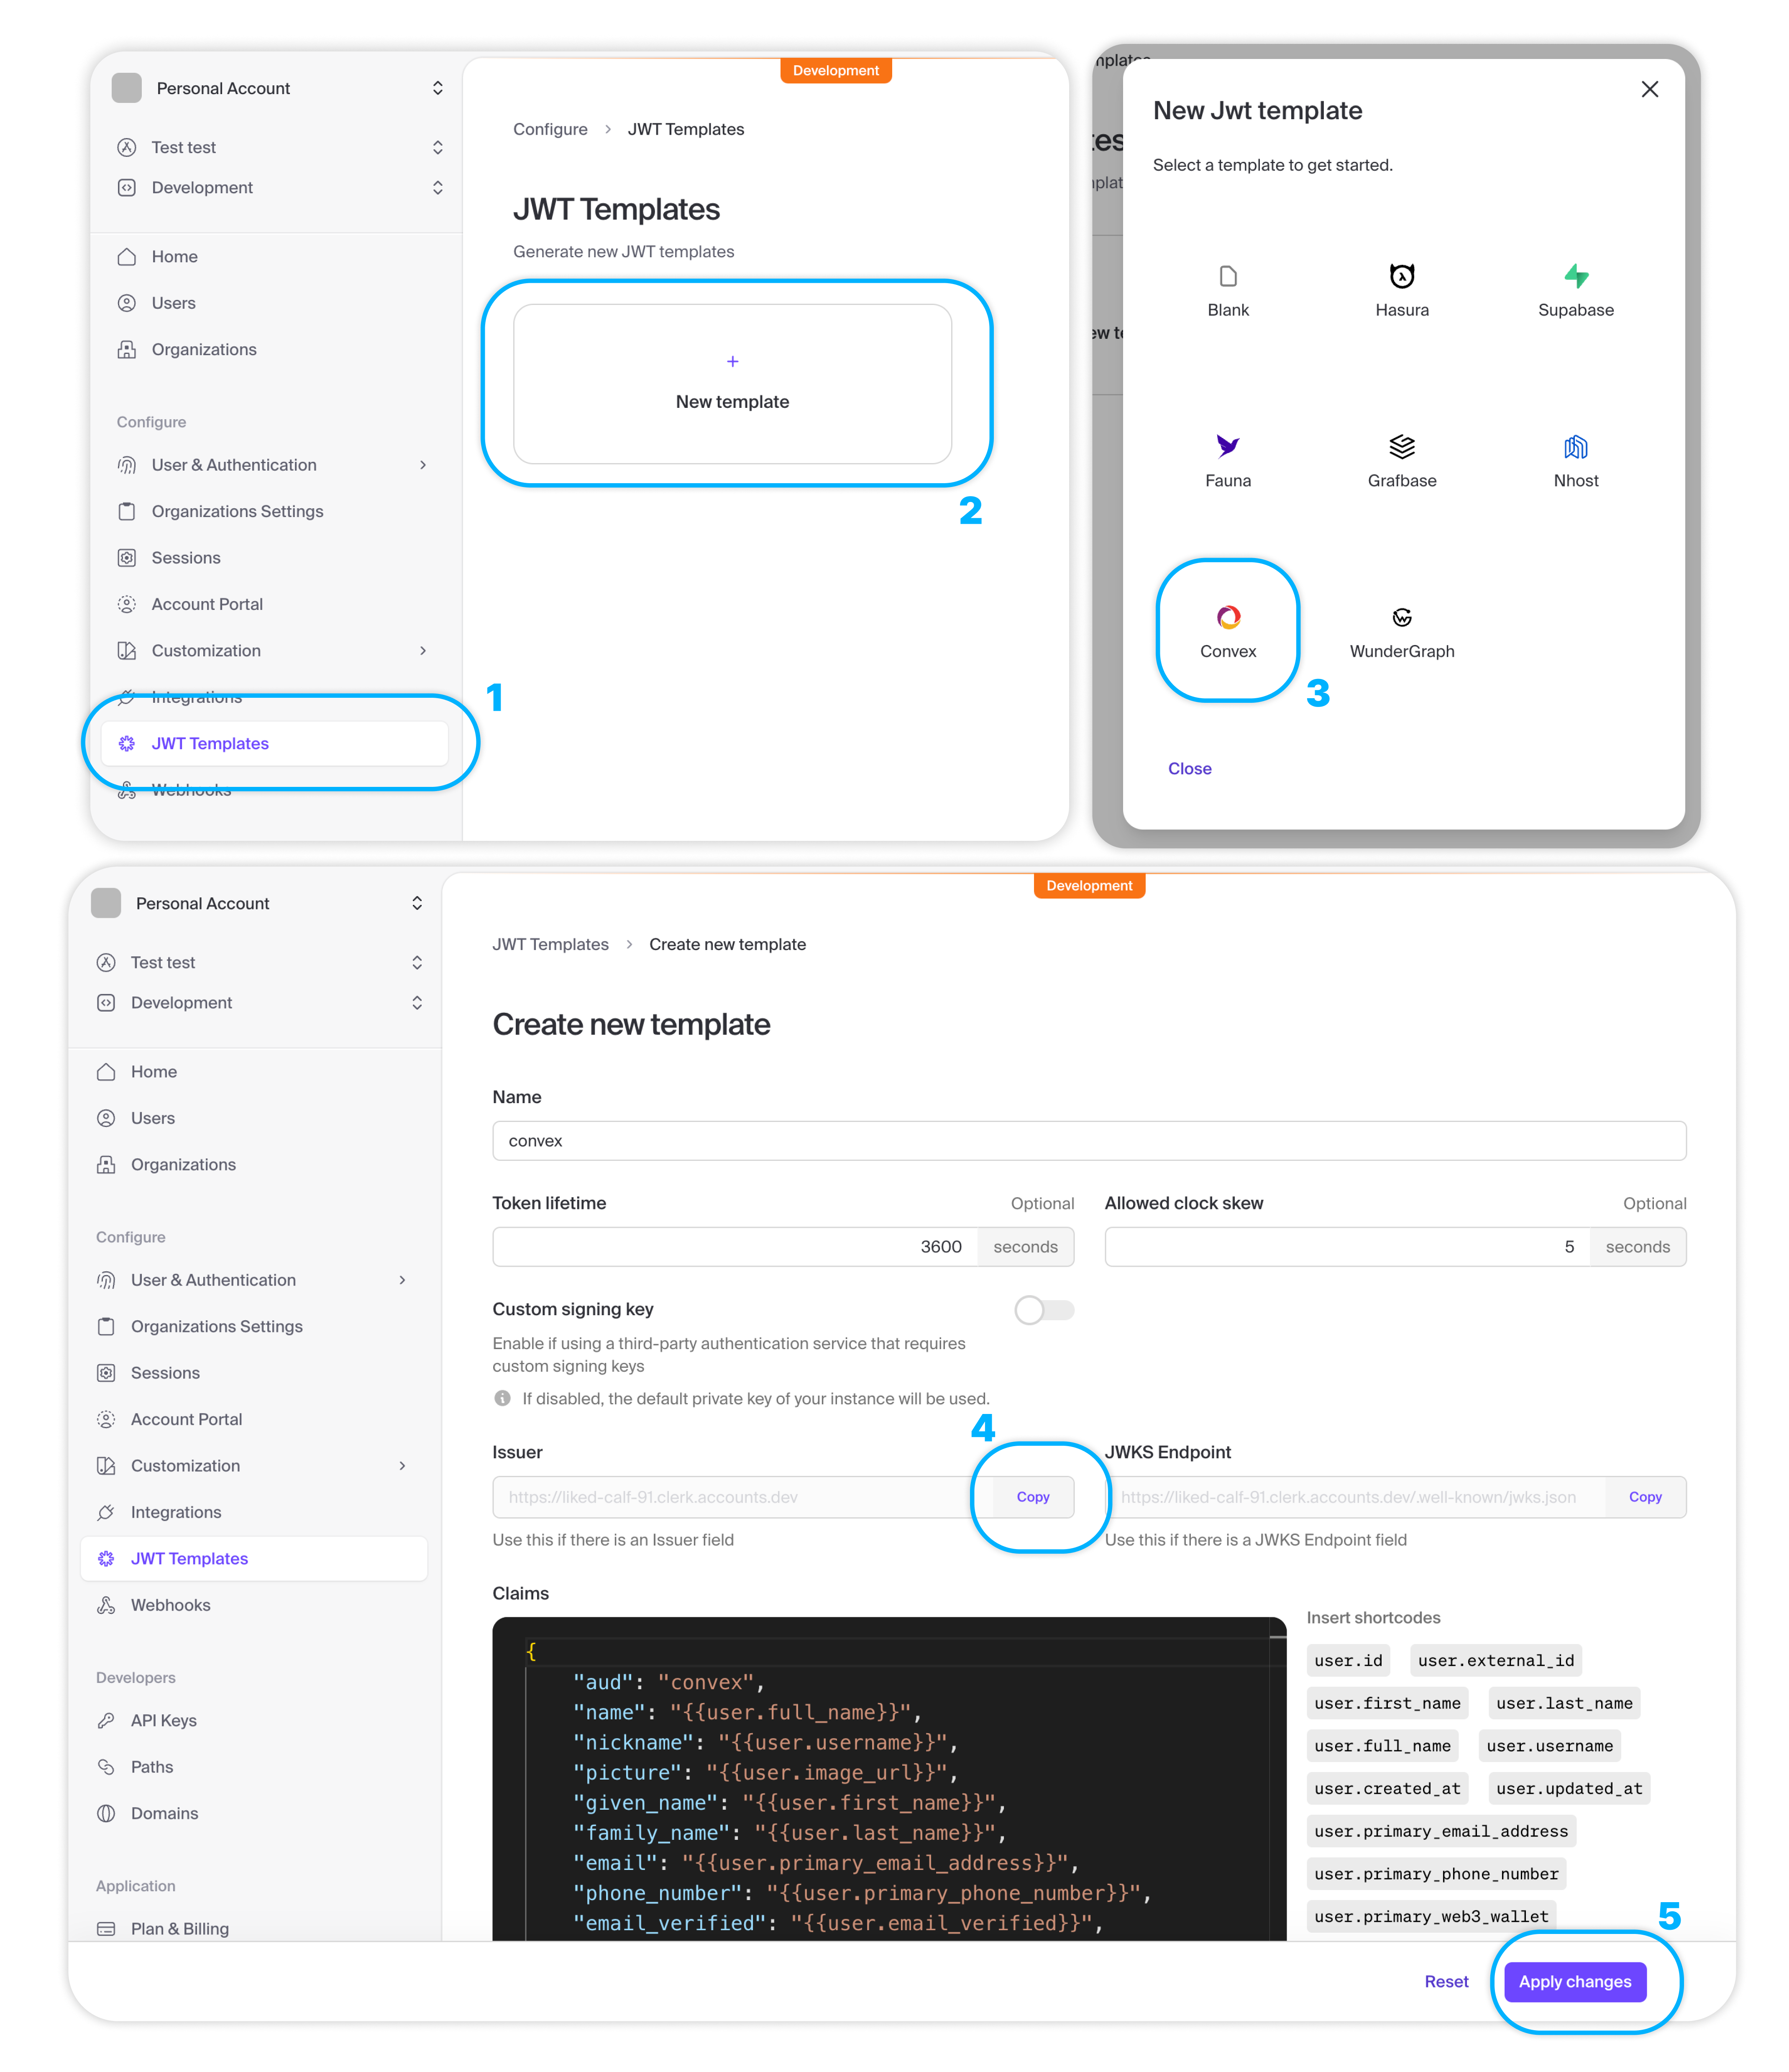
- Create the auth config
In the
convexfolder create a new fileauth.config.tswith the server-side configuration for validating access tokens.Paste in the Issuer URL from the JWT template and set
applicationIDto"convex"(the value of the"aud"Claims field).convex/auth.config.tsTSexport default {
providers: [
{
domain: "https://your-issuer-url.clerk.accounts.dev/",
applicationID: "convex",
},
]
}; - Deploy your changes
Run
npx convex devto automatically sync your configuration to your backend.npx convex dev - Install clerk
In a new terminal window, install the Clerk React library
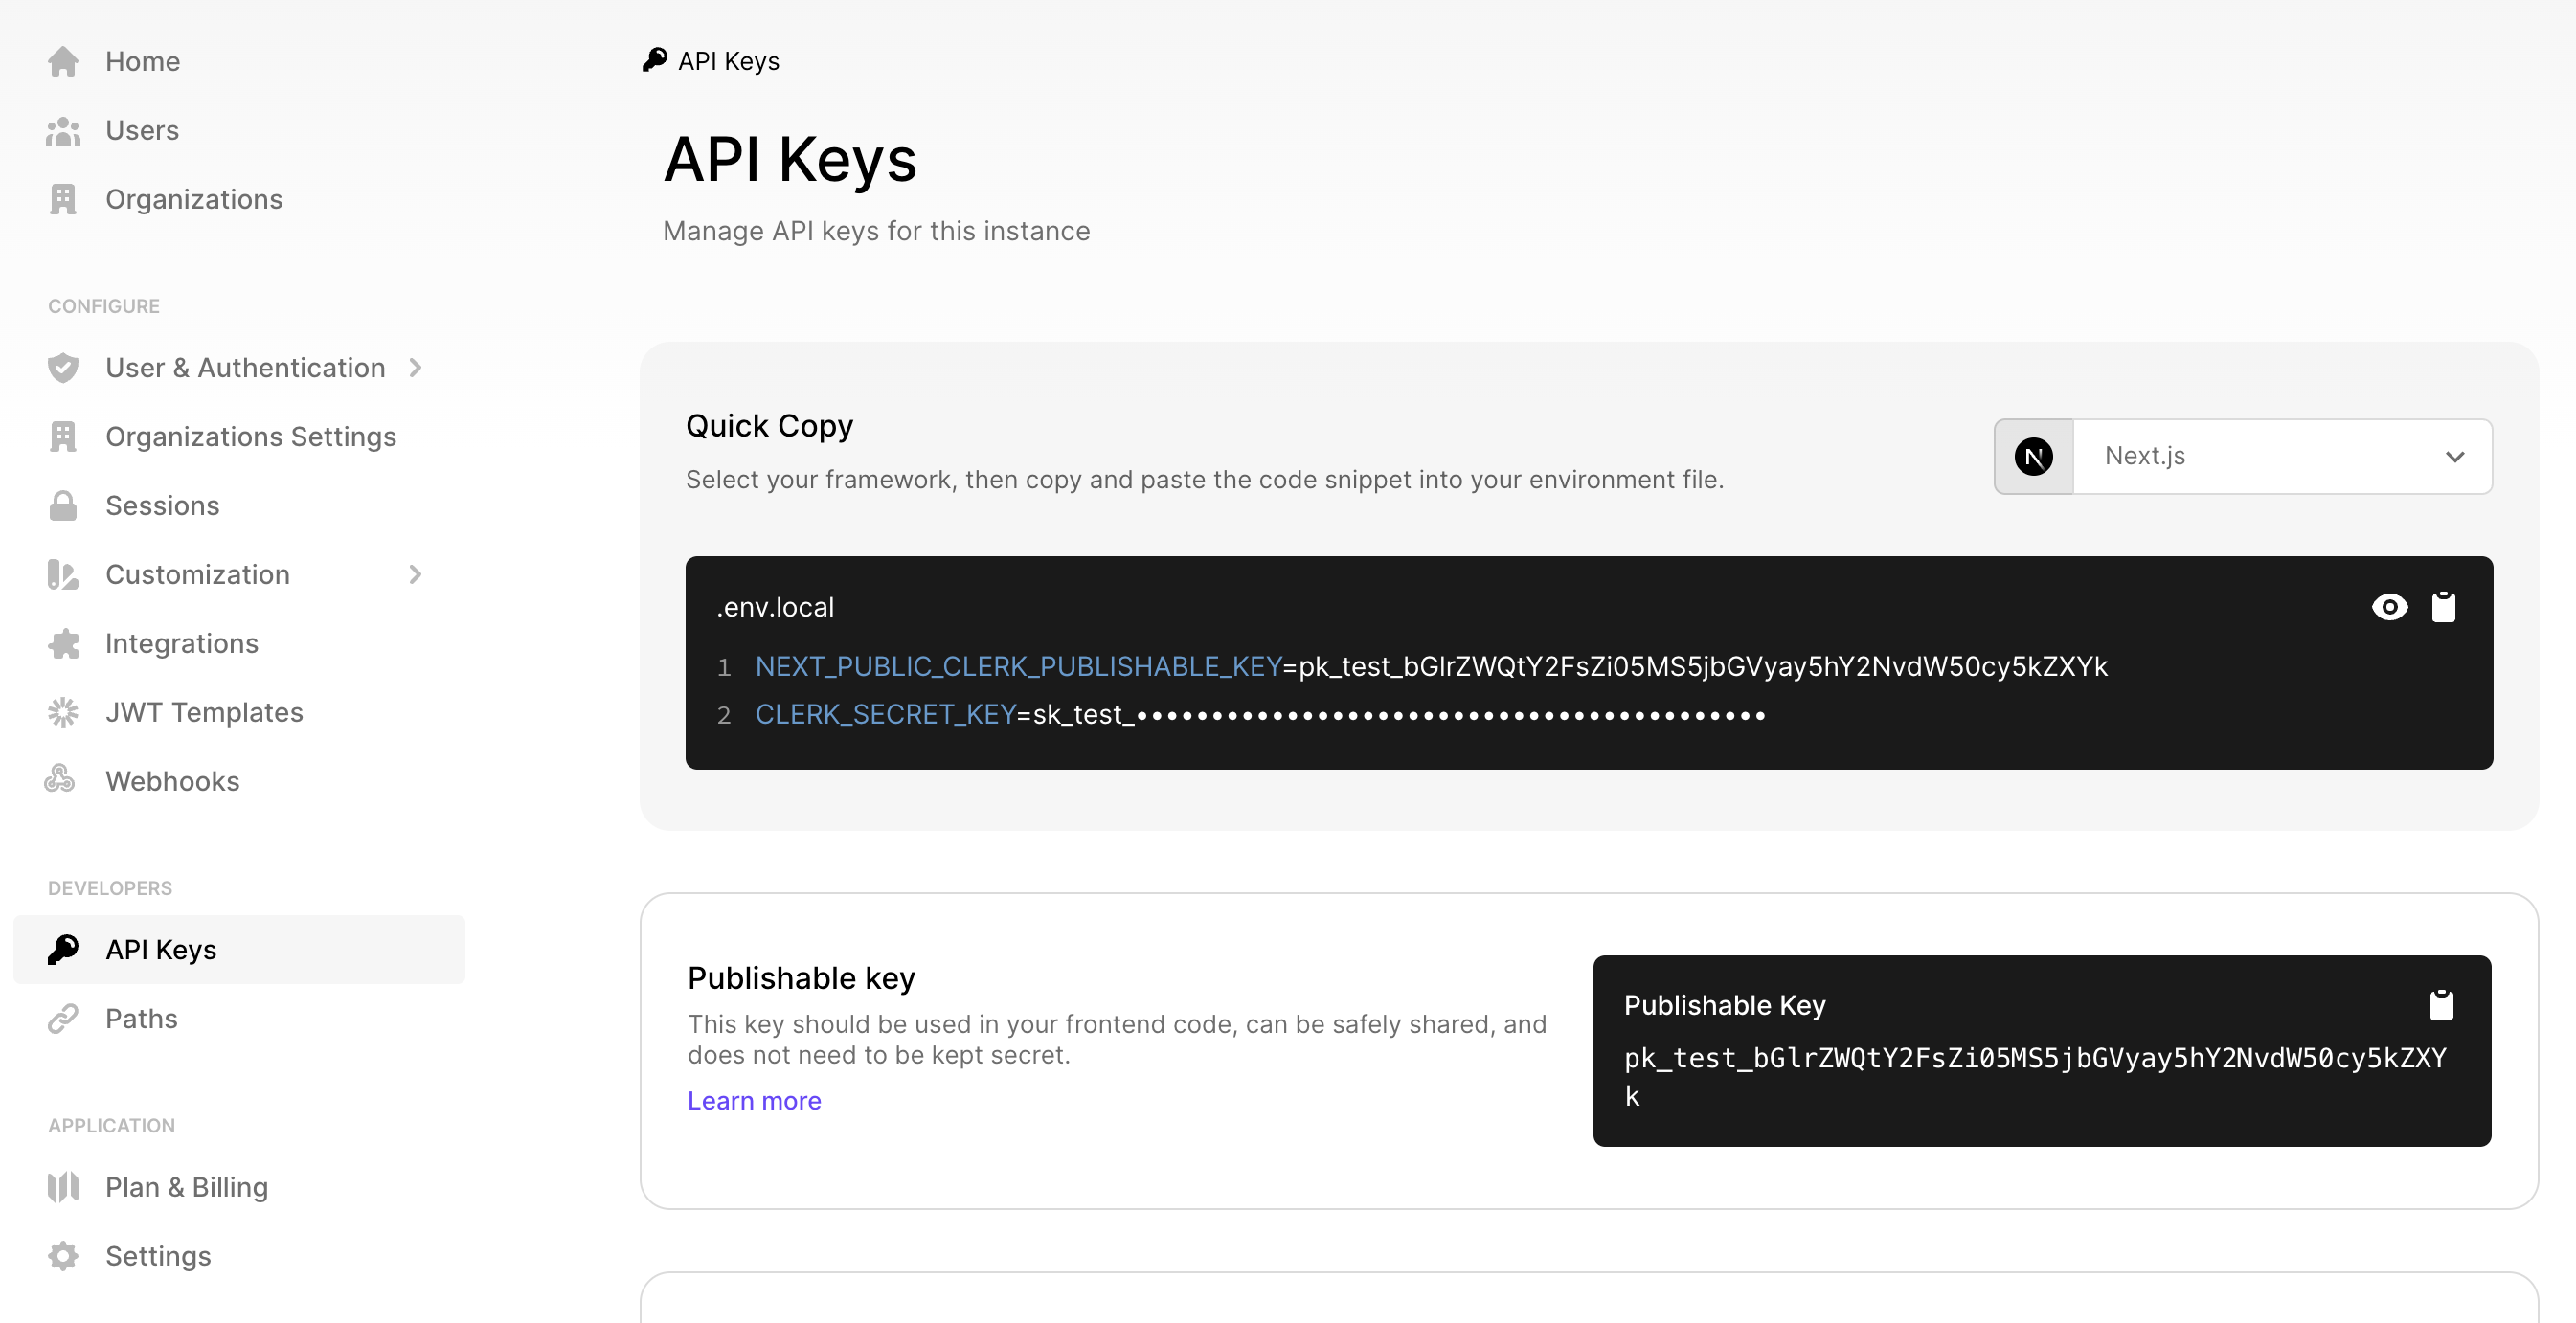
npm install @clerk/clerk-react - Get your Clerk Publishable key
On the Clerk dashboard in the API Keys section copy the Publishable key
- Configure ConvexProviderWithClerk
Now replace your
ConvexProviderwithClerkProviderwrappingConvexProviderWithClerk.Pass the Clerk
useAuthhook to theConvexProviderWithClerk.Paste the Publishable key as a prop to
ClerkProvider.src/main.tsxTSimport React from "react";
import ReactDOM from "react-dom/client";
import App from "./App";
import "./index.css";
import { ClerkProvider, useAuth } from "@clerk/clerk-react";
import { ConvexProviderWithClerk } from "convex/react-clerk";
import { ConvexReactClient } from "convex/react";
const convex = new ConvexReactClient(import.meta.env.VITE_CONVEX_URL as string);
ReactDOM.createRoot(document.getElementById("root")!).render(
<React.StrictMode>
<ClerkProvider publishableKey="pk_test_...">
<ConvexProviderWithClerk client={convex} useAuth={useAuth}>
<App />
</ConvexProviderWithClerk>
</ClerkProvider>
</React.StrictMode>,
);
Login and logout Flows
Now that you have everything set up, you can use the
SignInButton
component to create a login flow for your app.
The login button will open the Clerk configured login dialog:
import { SignInButton } from "@clerk/clerk-react";

function App() {
  return (
    <div className="App">
      <SignInButton mode="modal" />
    </div>
  );
}
To enable a logout flow you can use the SignOutButton from
@clerk/clerk-react or the
UserButton which opens a
dialog that includes a sign out button.
Logged-in and logged-out views
Use the useConvexAuth() hook instead of
Clerk's useAuth hook when you need to check whether the user is logged in or
not. The useConvexAuth hook makes sure that the browser has fetched the auth
token needed to make authenticated requests to your Convex backend:
import { useConvexAuth } from "convex/react";

function App() {
  const { isLoading, isAuthenticated } = useConvexAuth();

  return (
    <div className="App">
      {isAuthenticated ? "Logged in" : "Logged out or still loading"}
    </div>
  );
}
You can also use the Authenticated, Unauthenticated and AuthLoading helper
components instead of the similarly named Clerk components. These components use
the useConvex hook under the hood:
import { Authenticated, Unauthenticated, AuthLoading } from "convex/react";

function App() {
  return (
    <div className="App">
      <Authenticated>Logged in</Authenticated>
      <Unauthenticated>Logged out</Unauthenticated>
      <AuthLoading>Still loading</AuthLoading>
    </div>
  );
}
User information in React
You can access information about the authenticated user like their name from
Clerk's useUser hook.
See the User doc for the list
of available fields:
import { useUser } from "@clerk/clerk-react";

export default function Badge() {
  const { user } = useUser();
  return <span>Logged in as {user.fullName}</span>;
}
User information in functions
See Auth in Functions to learn about how to access information about the authenticated user in your queries, mutations and actions.
See Storing Users in the Convex Database to learn about how to store user information in the Convex database.
Next.js, React Native Expo, Gatsby
The ConvexProviderWithClerk component supports all Clerk integrations based on
the @clerk/clerk-react library. Replace the package from which you import the
ClerkProvider component and follow any additional steps in Clerk docs.
Configuring dev and prod instances
To configure a different Clerk instance between your Convex development and production deployments you can use environment variables configured on the Convex dashboard.
Configuring the backend
First, change your auth.config.ts file to use an
environment variable:
export default {
  providers: [
    {
      domain: process.env.CLERK_JWT_ISSUER_DOMAIN,
      applicationID: "convex",
    },
  ],
};
Development configuration
Open the Settings for your dev deployment on the Convex dashboard and add the variables there:
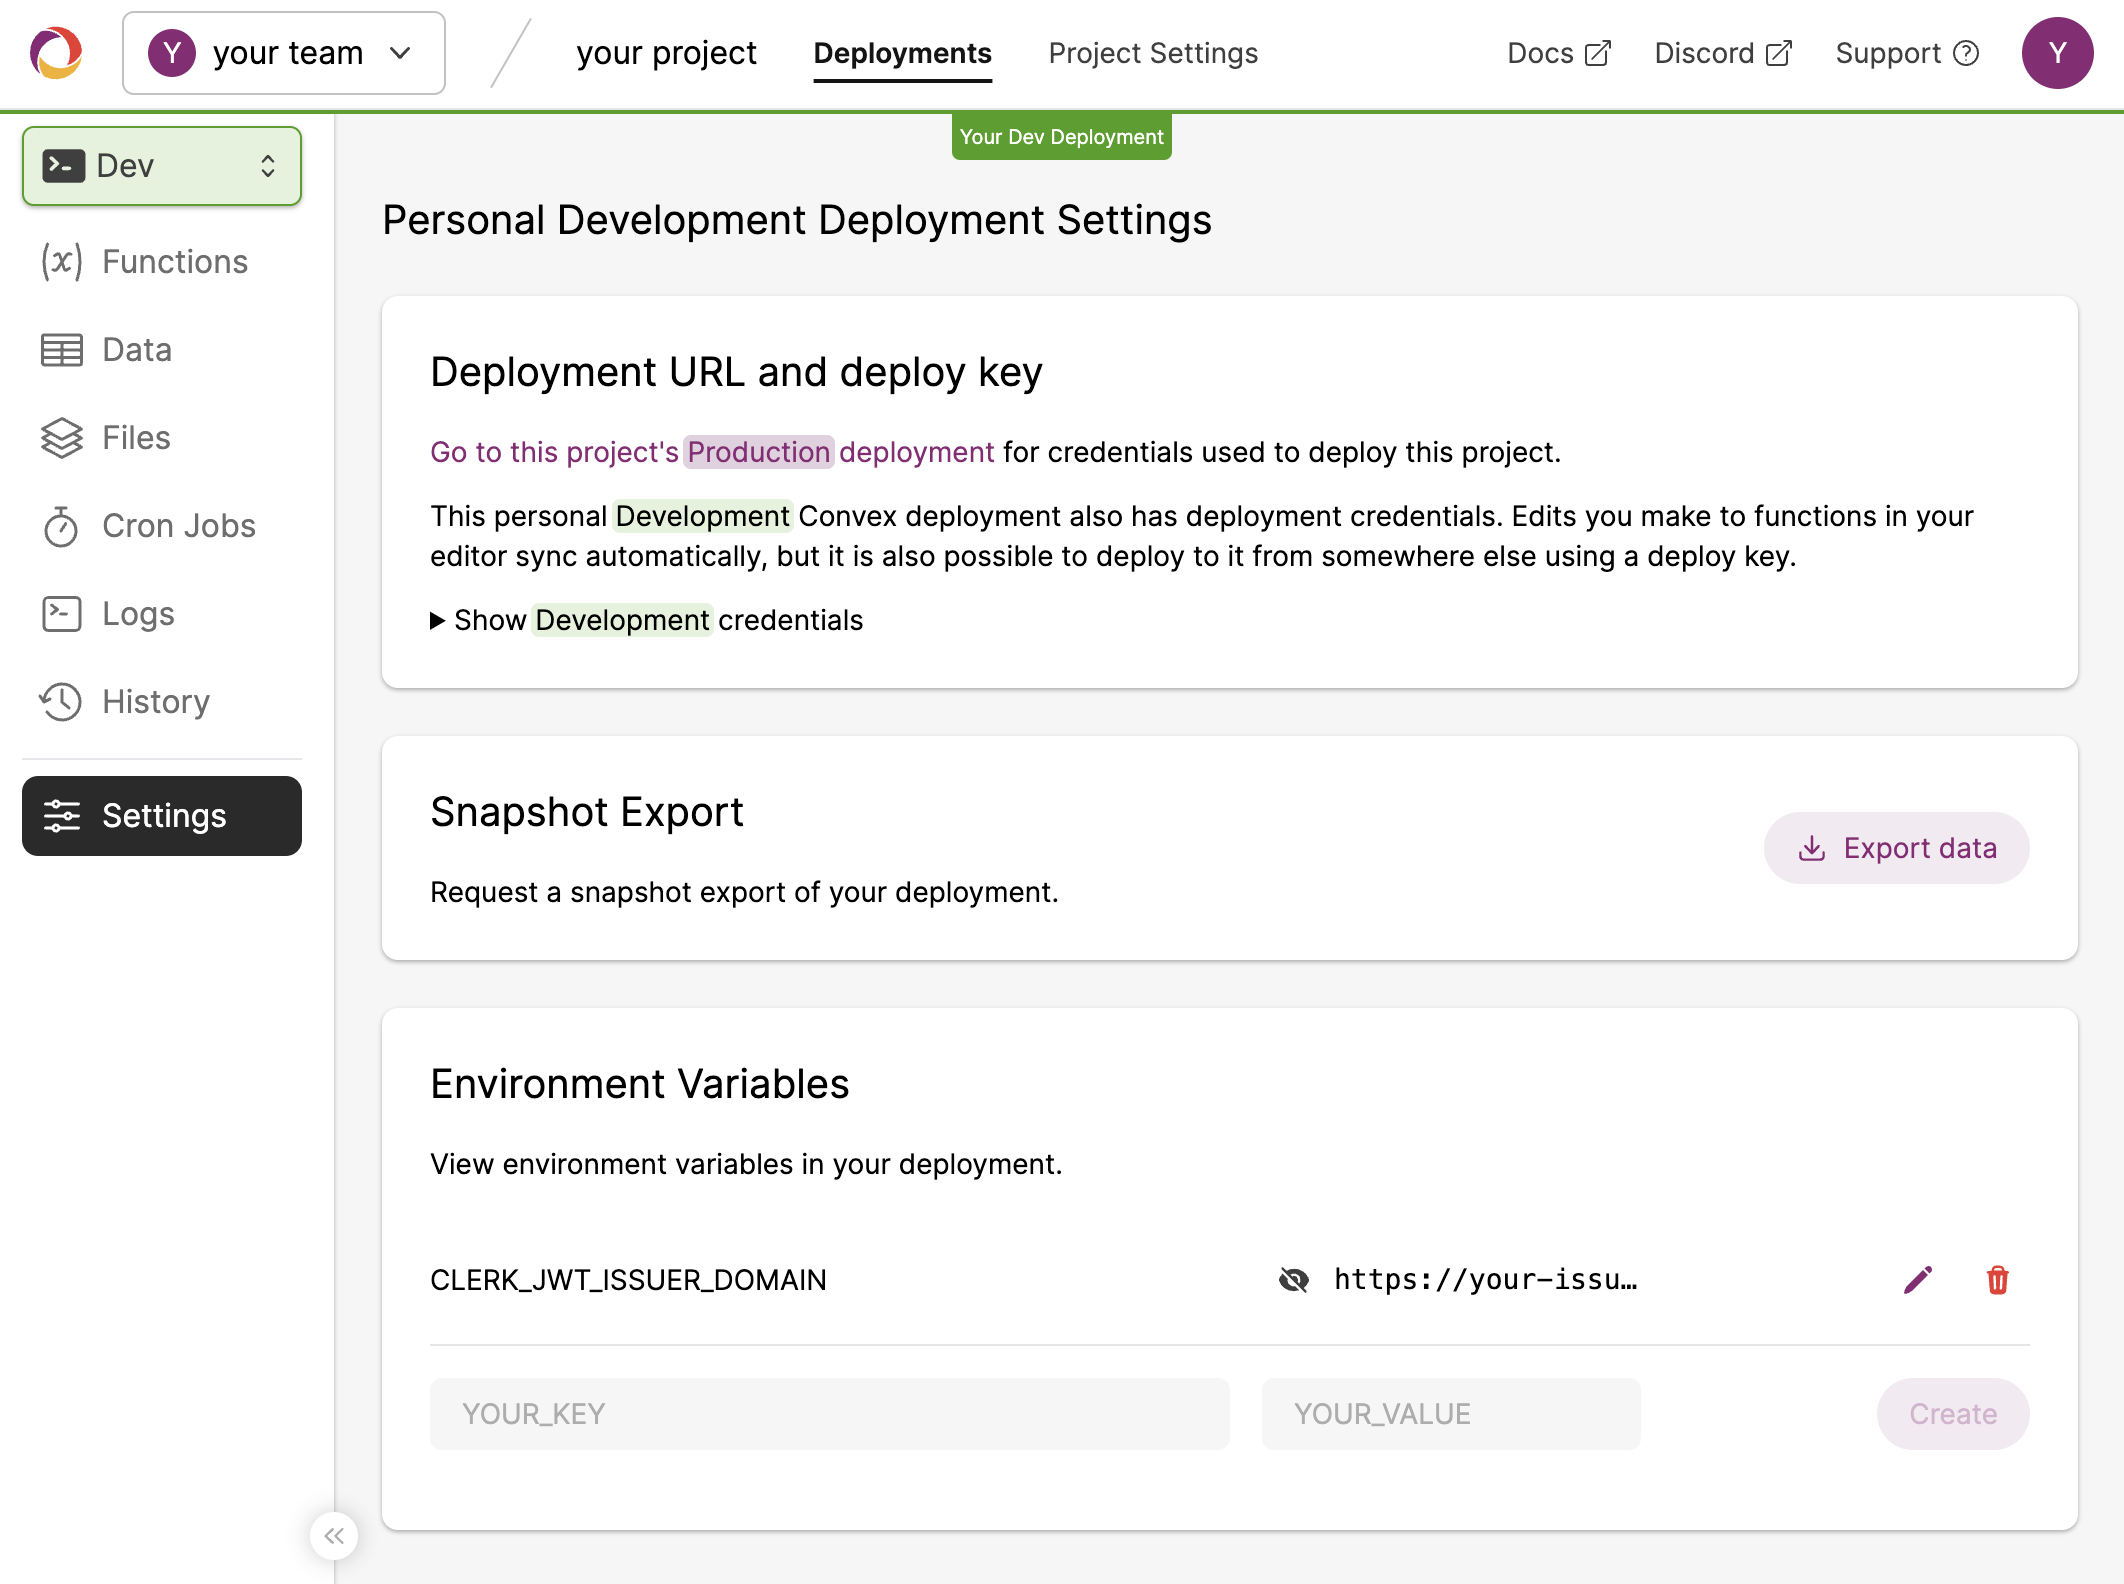
Now switch to the new configuration by running npx convex dev.
Production configuration
Similarly on the Convex dashboard switch to your production deployment in the left side menu and set the values for your production Clerk instance there.
Now switch to the new configuration by running npx convex deploy.
Configuring a React client
To configure your client you can use environment variables as well. The exact name of the environment variables and the way to refer to them depends on each client platform (Vite vs Next.js etc.), refer to our corresponding Quickstart or the relevant documentation for the platform you're using.
Change the props to ClerkProvider to take in an environment variable:
import React from "react";
import ReactDOM from "react-dom/client";
import App from "./App";
import "./index.css";
import { ClerkProvider, useAuth } from "@clerk/clerk-react";
import { ConvexProviderWithClerk } from "convex/react-clerk";
import { ConvexReactClient } from "convex/react";

const convex = new ConvexReactClient(import.meta.env.VITE_CONVEX_URL as string);

ReactDOM.createRoot(document.getElementById("root")!).render(
  <React.StrictMode>
    <ClerkProvider publishableKey={import.meta.env.VITE_CLERK_PUBLISHABLE_KEY}>
      <ConvexProviderWithClerk client={convex} useAuth={useAuth}>
        <App />
      </ConvexProviderWithClerk>
    </ClerkProvider>
  </React.StrictMode>,
);
Development configuration
Use the .env.local or .env file to configure your client when running
locally. The name of the environment variables file depends on each client
platform (Vite vs Next.js etc.), refer to our corresponding
Quickstart or the relevant documentation for the
platform you're using:
VITE_CLERK_PUBLISHABLE_KEY="pk_test_..."
Production configuration
Set the environment variable in your production environment depending on your hosting platform. See Hosting.
Debugging authentication
If a user goes through the Clerk login flow successfully, and after being
redirected back to your page useConvexAuth gives isAuthenticated: false,
it's possible that your backend isn't correctly configured.
The auth.config.ts file in your convex/ directory
contains a list of configured authentication providers. You must run
npx convex dev or npx convex deploy after adding a new provider to sync the
configuration to your backend.
For more thorough debugging steps, see Debugging Authentication.
Under the hood
The authentication flow looks like this under the hood:
- The user clicks a login button
- The user is redirected to a page where they log in via whatever method you configure in Clerk
- After a successful login Clerk redirects back to your page, or a
different page which you configure via the
afterSignInprop. - The
ClerkProvidernow knows that the user is authenticated. - The
ConvexProviderWithClerkfetches an auth token from Clerk. - The
ConvexReactClientpasses this token down to your Convex backend to validate - Your Convex backend passes the token to Clerk to check that it is valid.
ConvexProviderWithClerk takes care of refetching the token when needed to
make sure the user stays authenticated with your backend.